Reverse Engineering
Some Open Hardware projects, of great value, have on the internet only photos and videos of the real equipment, without dimensions or any other type of information about the magnitude of the size of its parts, information that is required for its realization or construction; In these cases, OHO has developed a procedure to estimate with a certain degree of precision, the essential dimensions of objects and physical structures, from photos, with the help of useful programs for this purpose.
Guidelines in Reverse Engineering projects
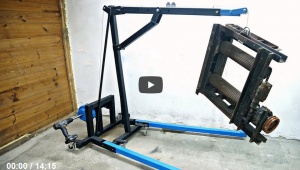
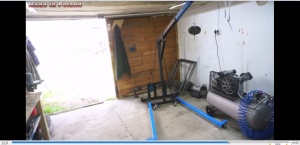
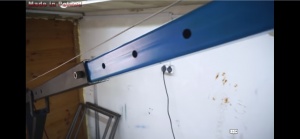
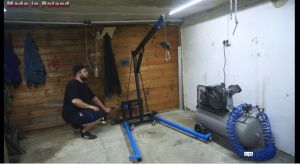
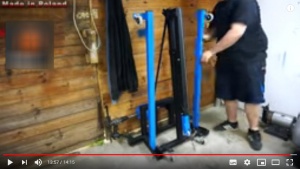
The most important aspects in the so-called Reverse Engineering procedures are shown below, images of the case of a workshop crane found on the internet are shown:
Video selection
For the case shown, we worked with the video of the link: Workshop Crane powered by DRILL, in which the following was addressed:
Are there views from different angles?
The video shows the construction stages from various angles.
Are there views of the most important details?
Details about the manufacturing processes are observed: stripping, cutting, welding and assembly.
Are there views of the open or disarmed equipment?
The team is totally open.
Are equipment parts, materials, and assembly logic recognized?
In the equipment you can recognize the parts and how they are assembled.
Is there a category in OHO for video equipment?
According to the categories available in [www.oho.wiki | OHO], this equipment fits into the category 'Mobile Cranes'
Are the images displayed with the necessary clarity?
Yes, it is a high resolution video, so your images are sharp.
Reference measurement
To determine the dimensions of the project, it is necessary to have one or more previously known dimensions, these measurements must be provided by OHO in the development of this procedure, unless otherwise indicated.
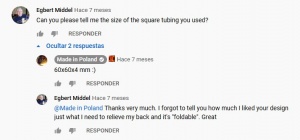
In the crane project, the width of the 60 mm tube was used as a reference measure, information obtained from the comments of the video, which gives validity to the reference.
Review comments and video information
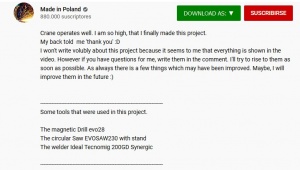
Generally, very useful data is available in the comments and in the video information, in the case of projects obtained from YouTube; Here you can get data on the dimensions required for manufacturing (explicit measurements).
Review Comments
In some cases, the number of comments is high, so they should be reviewed thoroughly.
In the analyzed video, all the comments and their responses were expanded, scrolling down, finding 507 items in total, including responses.
- As this is a video with many comments, all responses were expanded with the YouTube expand reply comments tool.
- Since the comments are in different languages, we proceeded to translate in Google docs, GOOGLETRNSLATE () AND DATECTLANGUAGE (), the result was later revised to correct translation errors.
- To make the process more efficient, a spreadsheet called 'youtube comments checker.ods' was created, organized as follows:
- Original comments in the first column
- Comments in English in the second column
- Comments in Spanish in the third column (this depends on the person doing the analysis)
- Comments were highlighted based on keywords such as 'mm', 'cm', 'kg', 'cable', 'pulley', 'wheel', among others, this in order to extract data that can provide information about dimensions and specifications.
- In the same way, the information of the video published by the author, in search of data of interest.
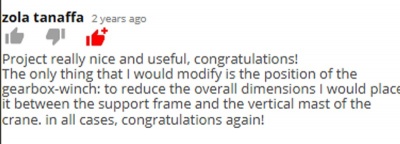
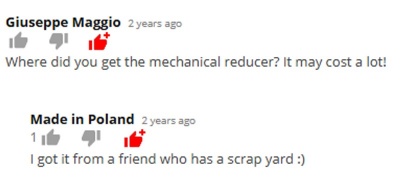
Here are some screenshots with the comments and information, which yielded results.
Checks for equipment capacity
Some aspects such as the capacity of the equipment or system must be verified, so that the project to be developed has practical value as Open Hardware.
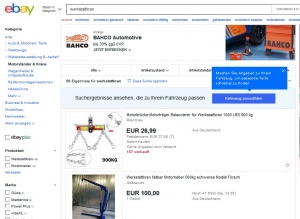
In the case of the crane, it is available on the market, currently similar equipment, with higher capacities, however, it will work based on the 200 kg capacity, indicated above in the video transcript.
Taking key screens for image processing
Once the decision to develop the reverse engineering process has been made, with the video selected, it begins by taking captures in which the lengths of the components can be measured.
Alternatives to include in the captures for reference measurements
As mentioned, some of the captured measurements will be reference measurements, so their value is previously known, there are some elements that can show reference measurements, such as:
- Calibration elements such as meters, rulers, vernier, among others.
- Known, well-identified objects, used in the video as parts of vehicles, parts of other machines such as washing machines, fans, among others. The equipment has a manual drill as a motor element, it can serve as a reference if required.
- Estimated objects used in the video such as gears, bearings, shafts, beams, plates, among others, of which their size is assumed. These must be confirmed with other references such as anthropometry or approved by OHO.
- Interaction of people in the video, where human parts are shown. In the crane project, captures with human interaction were used for plausibility testing.
- Workshop furniture, especially work table, entrances, floor slabs, walls, among others that are useful.
- Workshop equipment such as vices, drills, wrenches etc. With some data of the observed equipment, it is possible to extract dimensions of nearby components that belong to the equipment or system of the project. In this case, data was obtained from the information in the video.
- Magnetic drill: Drill evo28
- Circular saw: EVOSAW230 with stand
- Welder: Ideal Tecnomig 200GD Synergic
Image Processing
After obtaining the necessary captures or images to determine the dimensions, they must be processed using the following methods:
Perspective distortion correction
If the capture is distorted, lacks 'vanishing lines' and in addition, all its dimensions are in the same plane, the perspective must be corrected.
Image editors such as Gimp or others can be used to correct perspective.
Determination of reference dimension by anthropometry or objects of known dimension
Once the captures have been established, where people or objects of known size interact, there must be average measurements, for the case of people, those indicated in the DIN 33 402 standard or others can be used.
In the evaluated project, for references on height and other anthropopmetry data, academic sources were used in the following links:
- http://erecursos.uacj.mx/handle/20.500.11961/3098
- https://docplayer.es/23252748-Ergonomia-desde-el-punto-de-vista-de-la-higiene-y-seguridad-industrial-lic-jose-luis-melo.html
From these sources, some average references are obtained to be able to establish comparisons with the proportions observed in the video.
Camera match sizing of equipment
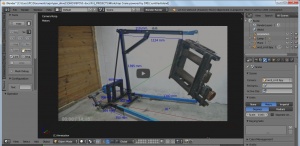
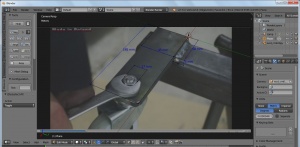
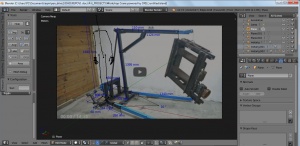
There are tools capable of determining dimensions of objects in different axes of a coordinate system superimposed on a photo taken of said object, with perspective, such as the program fSpy, which is Open Source and it can generate, from the processed photo, a 'camera match' file that includes a coordinate system in the photo and can later be used by another very powerful program, such as Blender, in which the photo and the coordinate system are manipulated in a three-dimensional environment.
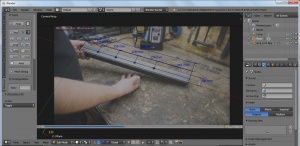
Some of the captures of the evaluated project were processed in fSpy and Blender, managing to determine, from reference measurements, other dimensions of satisfactory way.
An important requirement, to apply 'camera match' is that the capture shows straight lines of the objects in at least two coordinate axes and that they present perspective, in case some captures do not comply with this, for example, they only show curved shapes or views completely orthogonal, it is still possible to process the images in programs like the one already mentioned Gimp or tools like Meazure, where the image is analyzed in two dimensions and measurements are determined from known references, being able to even establish relationships of trigonometry, when the measurement and the reference have been taken at different distances from the camera.
Plausibility check
In view of the fact that estimates are made in this process, it is advisable, when there are doubts about an estimated measure, to repeat its determination with a different reference, to give validity to the measure in question.
In the case of the crane, it was observed that the height of the mast is at the height of the shoulders of its builder, so this measurement could be verified, with the help of a human scale model of Blender called 'meta rig'.
References from designer experience
In many cases, the person who performs the Reverse Engineering analysis, based on his experience, already has knowledge about some critical measurements of some objects, which must be validated by OHO, speeding up the dimension determination process.
As a final note, it should be noted that, before starting to develop the modeling of the parts, OHO must review and approve the main dimensions and the relevant dimensions, obtained according to this procedure.
